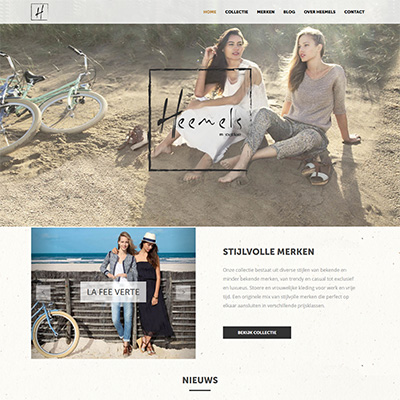
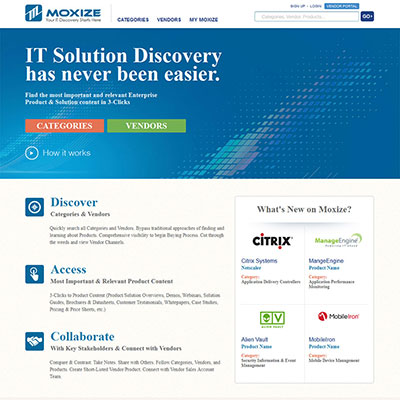
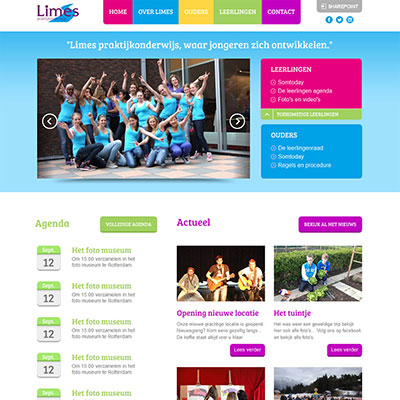
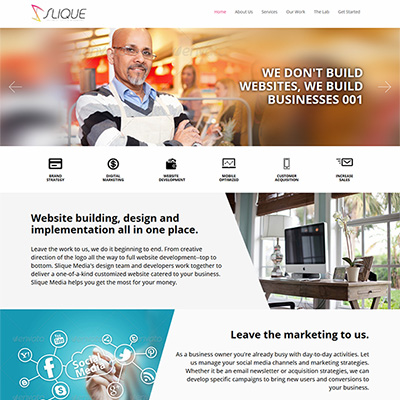
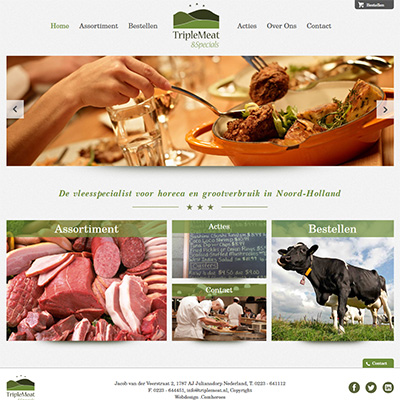
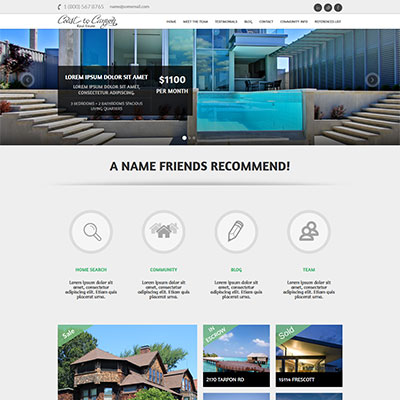
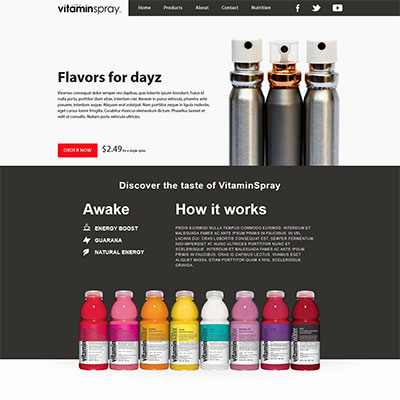
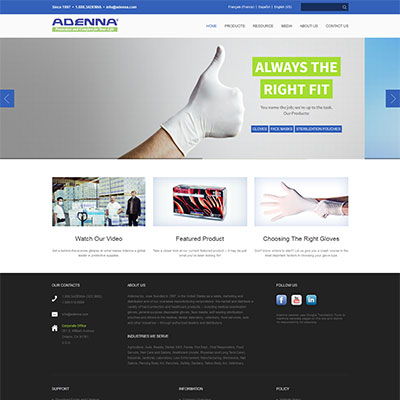
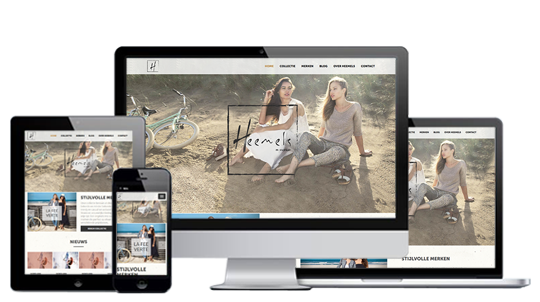
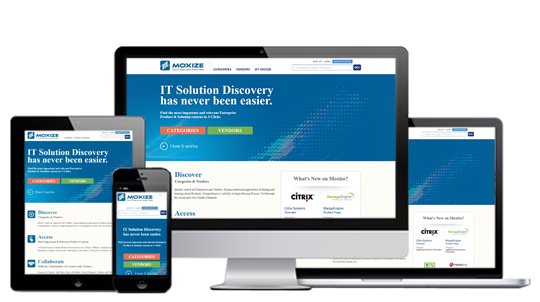
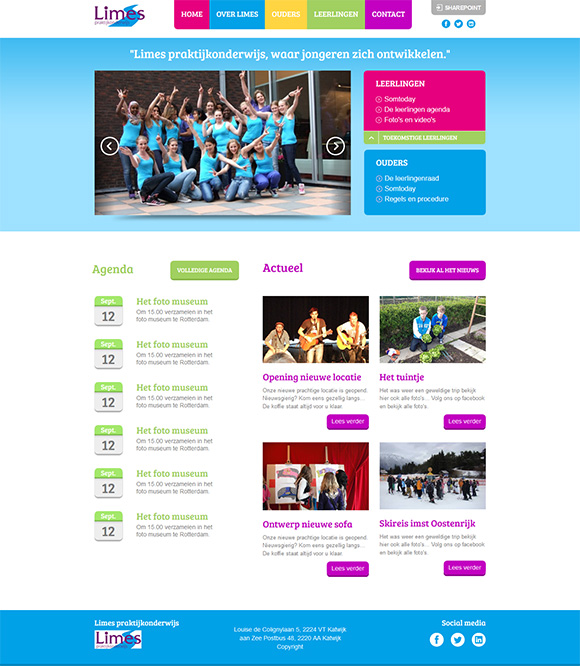
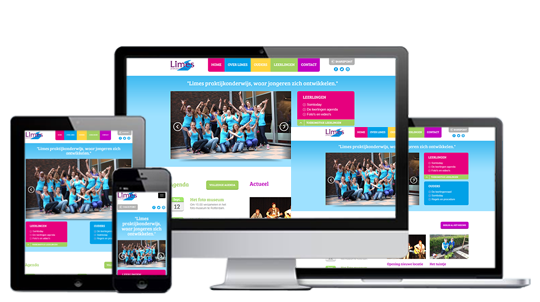
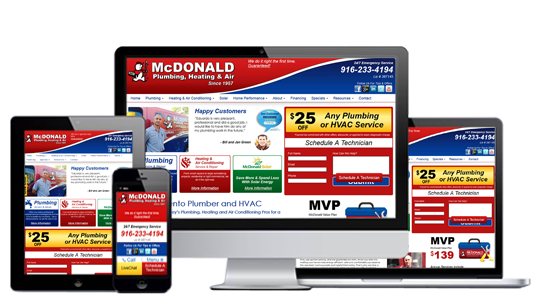
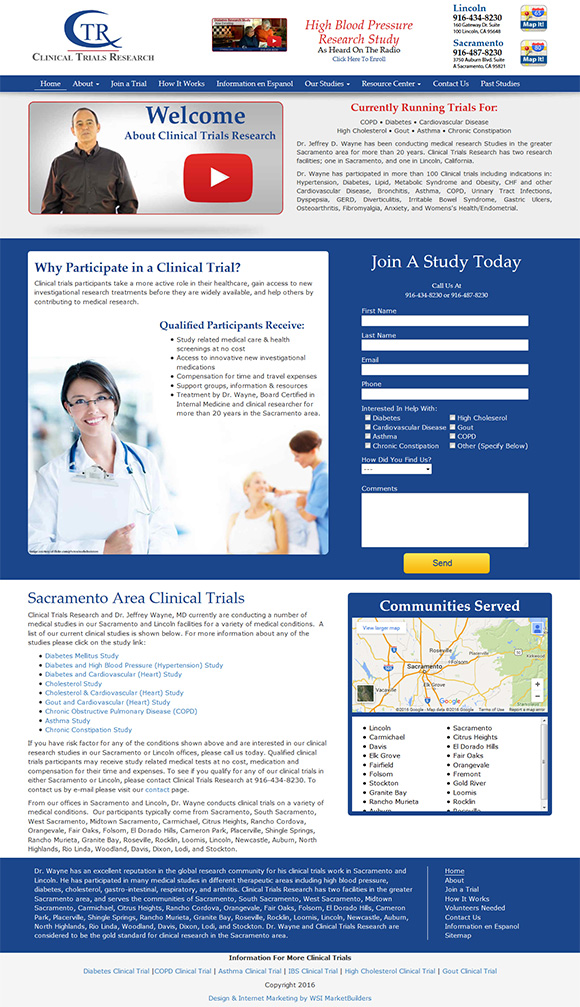
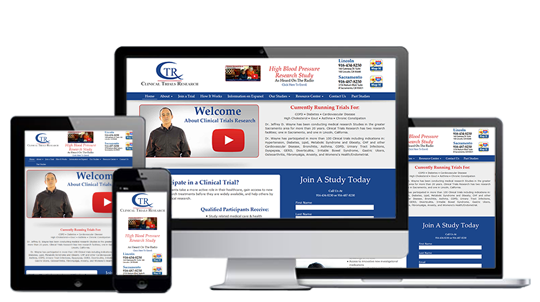
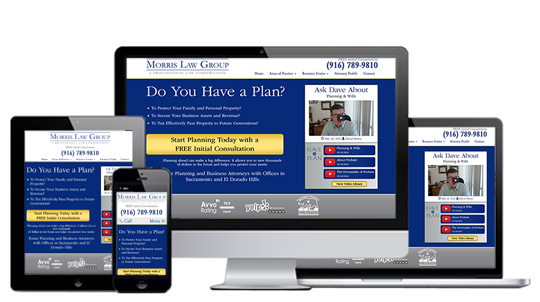
Our Portfolio
Previous Best Project List
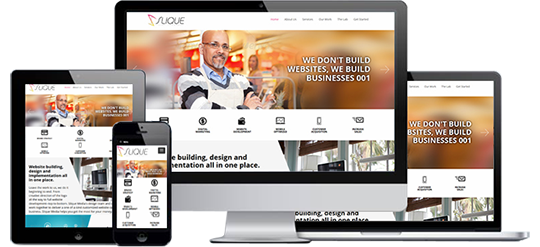
DeshiSoft is your partner in IT product development. We are a consulting and development firm specializing in taking your dream venture however big or small into real business.
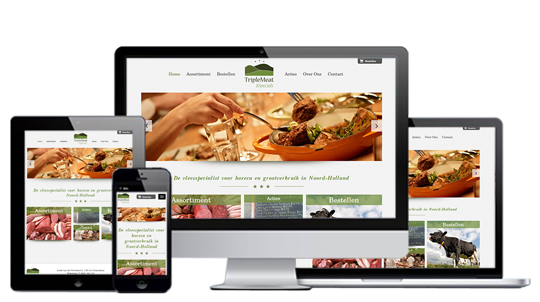
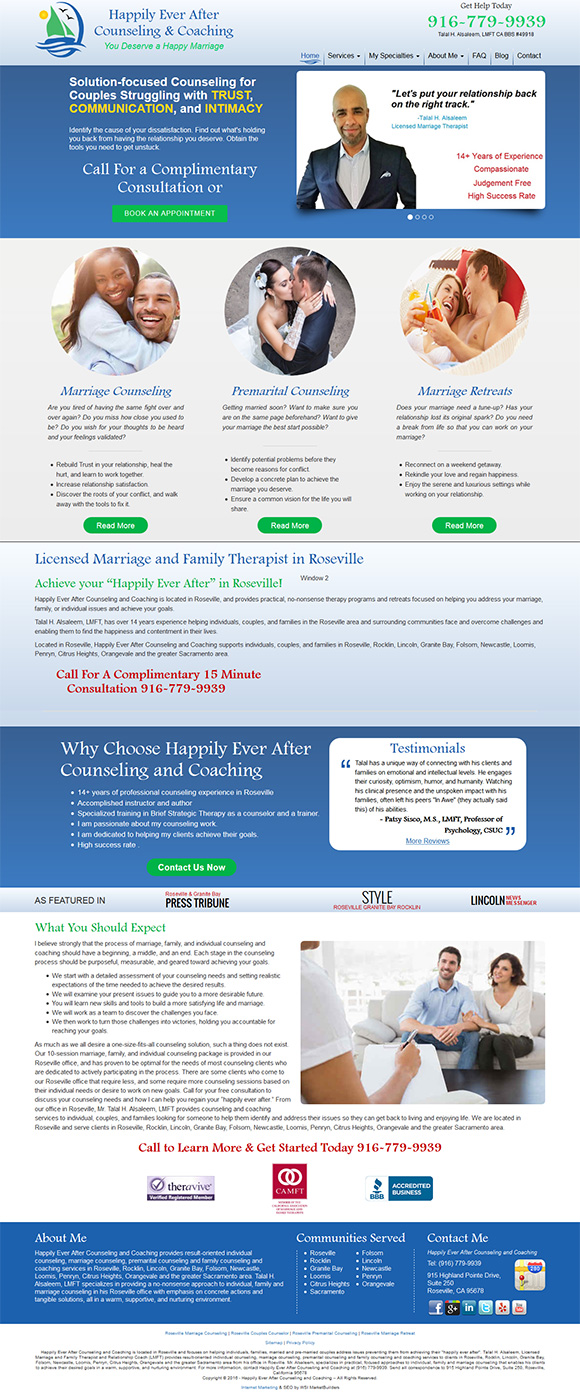
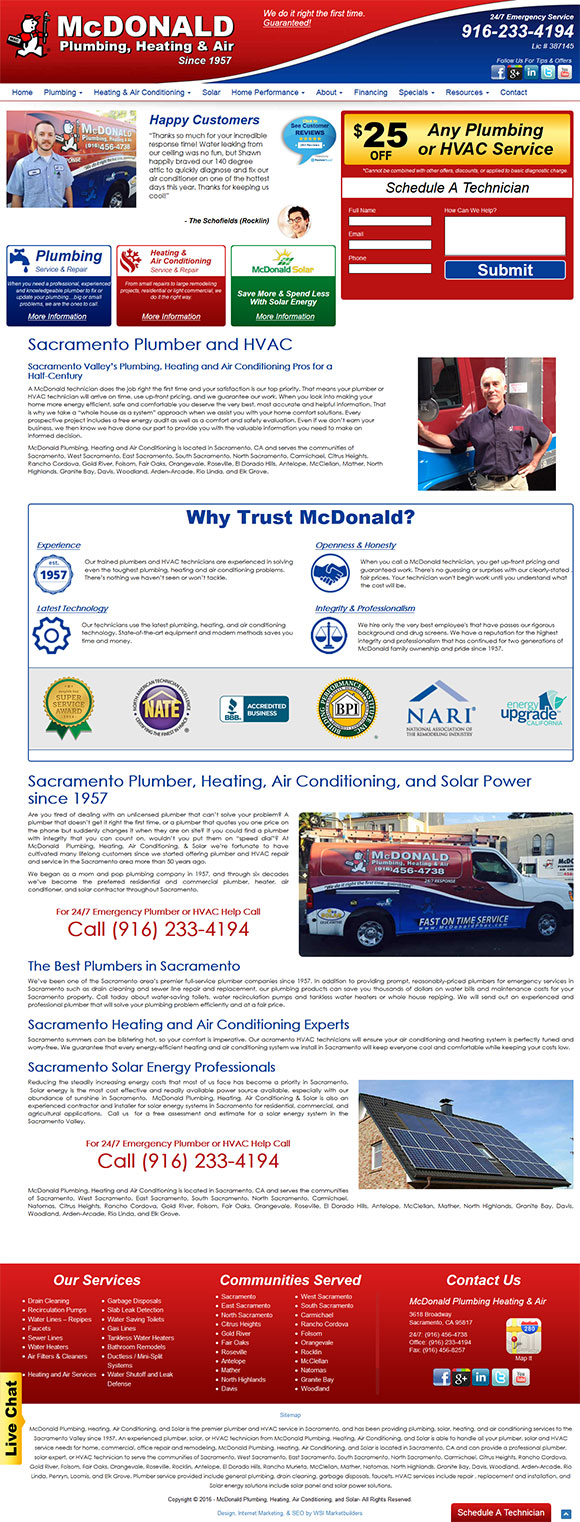
DeshiSoft provides turnkey Web Solutions to various kinds of businesses operating worldwide.
We have a variety of professionally designed WordPress Themes specific for you needs.
Bootstrap & Wordpress - High Quality, Good Resonsive Themes Easy to use and customization if you need.
Our secure hosting platform offers a 99.9% uptime guarantee.
Domain Details Hosting Details
EyeTheme - Skeleton/Basic wordpress theme for development.
More Details
Previous Best Project List
DeshiSoft has been in IT business since 2009 and dedicatedly providing IT solutions to small and medium businesses worldwide.

DeshiSoft is a virsual company where we follow the international development cycle every stage under a team work that's why we can provide you low budget high professional work.
Jack of all master of Bootstrap + Wordpress
The BASIS Outsourcing Award 2014 recognizes outstanding performance
by organizations and individuals in the field of software and IT services outsourcing in Bangladesh.
http://www.basis.org.bd

History of Upwork.com
We believe in principle that DeshiSoft can only grow if we deliver IT solutions to customers that will help them to grow their business.
Working with Tamal was a great experience. He is highly skilled with wordpress, custom front end solutions and customizing mobile specific landing pages. Highly Recommended and I will be working with him again soon.
Giuseppe Di Franco, CEO, Business View Australia.
Once again, a pure pleasure to work with Tamal. Understood the instructions, understood our coding guidelines, and completed the project very fast. Thanks!!
Breakpoint Technologies
Excellent work completed by Tamal. I was extremely happy with the work he did - exactly to my requirements. He followed instructions well and did everything he promised. Will be hiring him again!
Birmingham
Our business model focuses on having long-term strategic relations with our clients by providing a combination of high quality, cost effective and on time delivery of solutions. In each client project, we work beyond the norms of a conventional client relationship by investing more time to understand customer current and future business needs.
Baraigrm, Natore, 6430, Bangladesh
admin@deshisoft.com
info@deshisoft.com
+880 1977 388316
+880 1767 388316